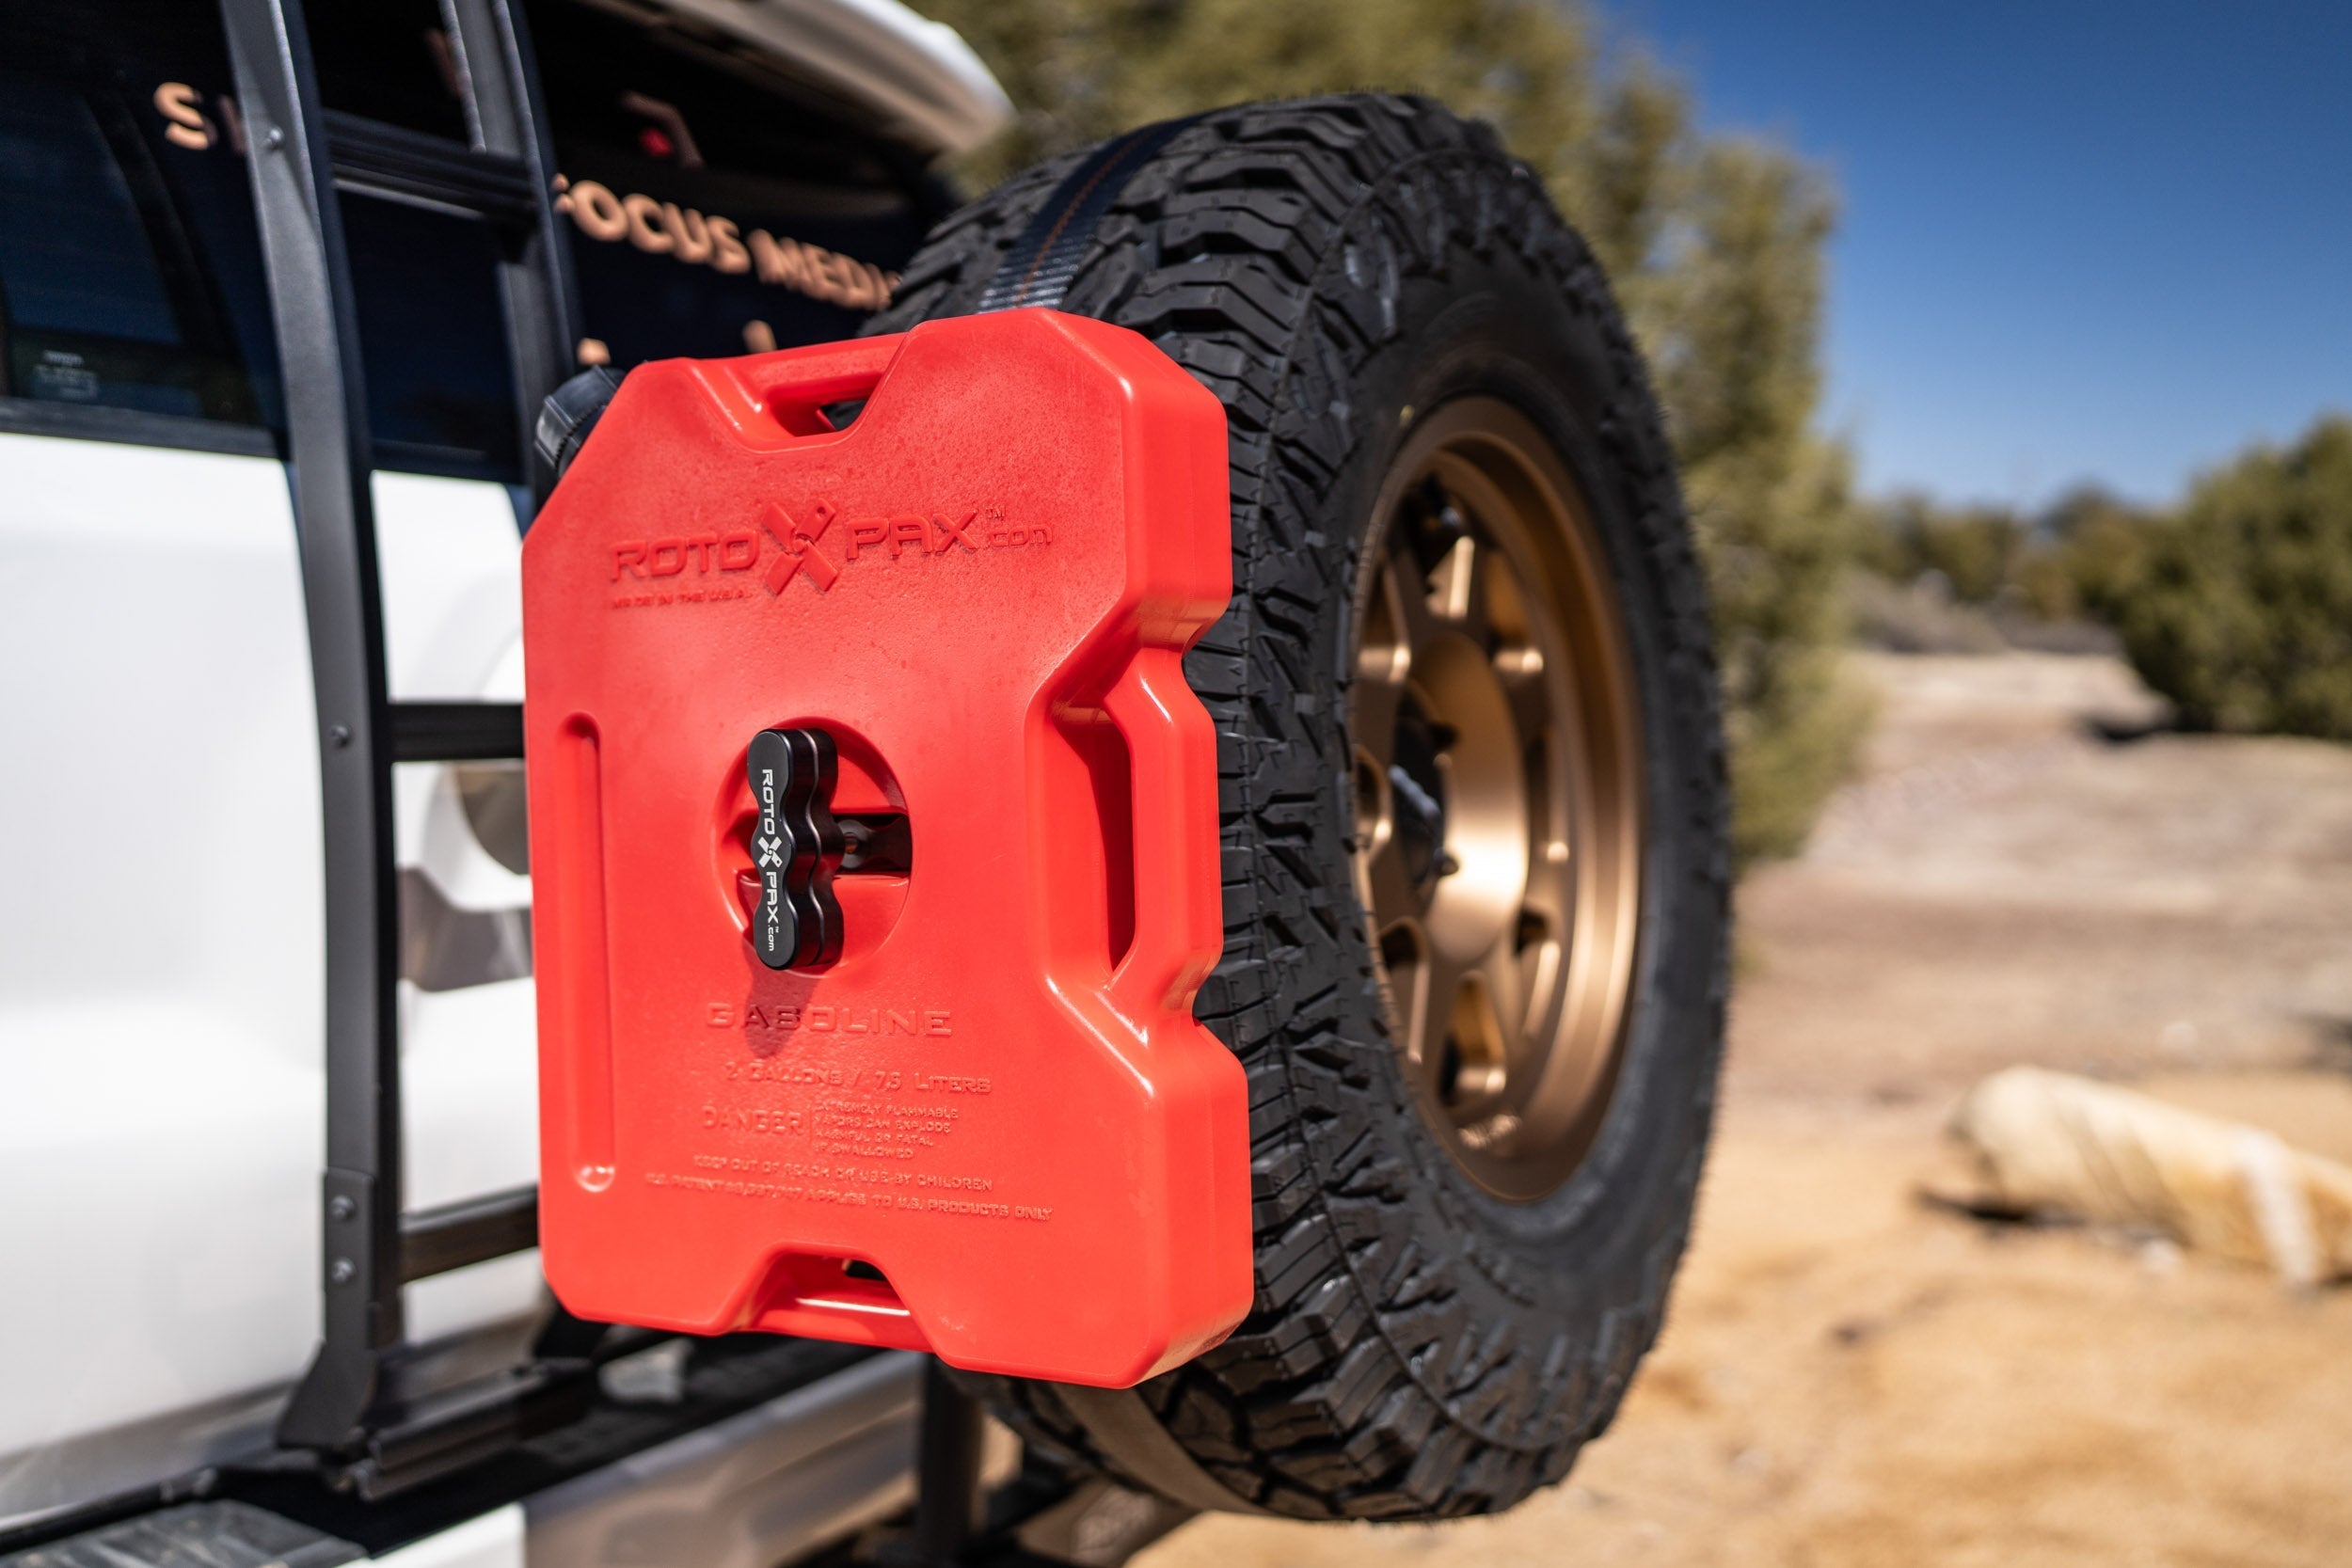

RotoPaX® fuel and water packs are trusted by overlanders and off-roaders around the world—but mounting them properly can get confusing, especially when you’re stacking multiple containers. Here’s everything you need to know about setting up your RotoPaX® system the right way.
Start With the Right Mount
Every setup begins with a RotoPaX® Pack Mount. These mounts secure your base container to a vehicle, trailer, or accessory bracket. Each mount includes two installation options:
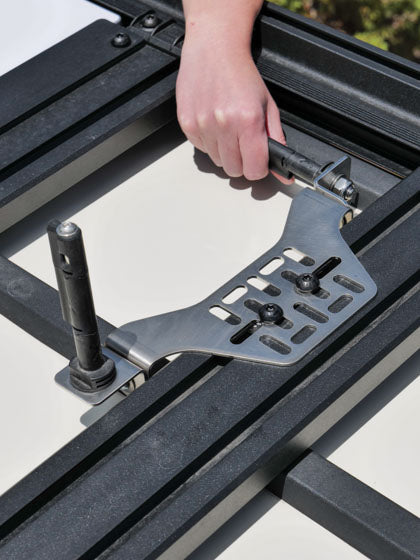
• Steel Adapter Plate – Included with every Pack Mount and ideal for use with flat surfaces or racks that require extra clearance.
• Threaded Base – Allows you to bolt directly into a mounting surface. These same threaded holes are also what attach the included steel adapter plate—giving you two options depending on your setup.
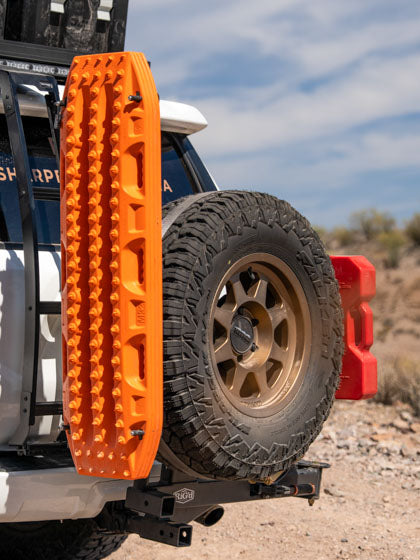
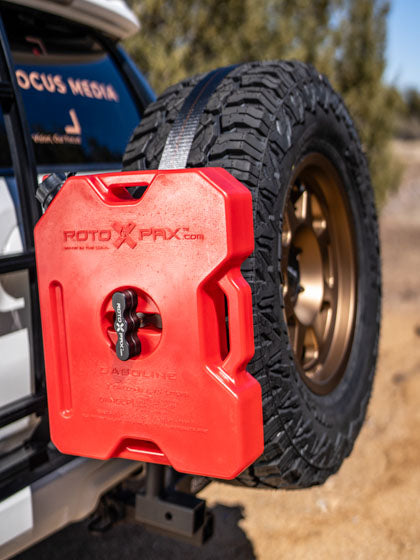
This is how the Overland Kitted Heavy Duty RotoPaX® Spare Tire Mount connects for a lower-profile, more secure install.
Choose the Right Mount for Your Needs
• Standard Pack Mount – Single T-handle mount for quick, no-frills installs.
• DLX Pack Mount – Adds a second T-handle to separate container tension from mount tension.
• LOX Pack Mount – Includes a keyed lock for theft protection and all the benefits of the DLX.
All mounts are compatible with RotoPaX® fuel, water, and storage containers, and each can be installed directly to our Spare Tire Accessory Bracket for a rock-solid solution.

Stacking Multiple RotoPaX® Containers
When stacking containers, you only need one base Pack Mount and one Extension. But here’s the key: your extension is determined by the bottom container—not the one on top.
• If your bottom container is a 1-, 2-, or 4-gallon, use the Standard Extension.
• If your bottom container is a 1.75-gallon, use the 1.75-Gallon Extension.
• If your bottom container is a 3-gallon, use the 3-Gallon Extension.
Example: stacking a 1-gallon on top of a 1.75-gallon? Use the 1.75-Gallon Extension. Stacking a 1.75-gallon on top of a 2-gallon? Use the Standard Extension. The bottom container always determines which extension you need.
Where and How to Mount
Use the included steel adapter plate if your surface requires added clearance or a wider footprint. If you’re mounting to a dedicated bracket like the Overland Kitted Spare Tire Mount, thread the Pack Mount directly into the bracket using the built-in threaded base for a tight, clean fit.
Dial It In for the Trail
Make sure everything is fully tightened before hitting the trail. The LOX mount’s keyed lock should click securely into place. The DLX’s dual T-handles give you extra control, letting you lock your canister in without over-torquing your mounting point. Extensions should be tensioned so there’s no movement between stacked containers.