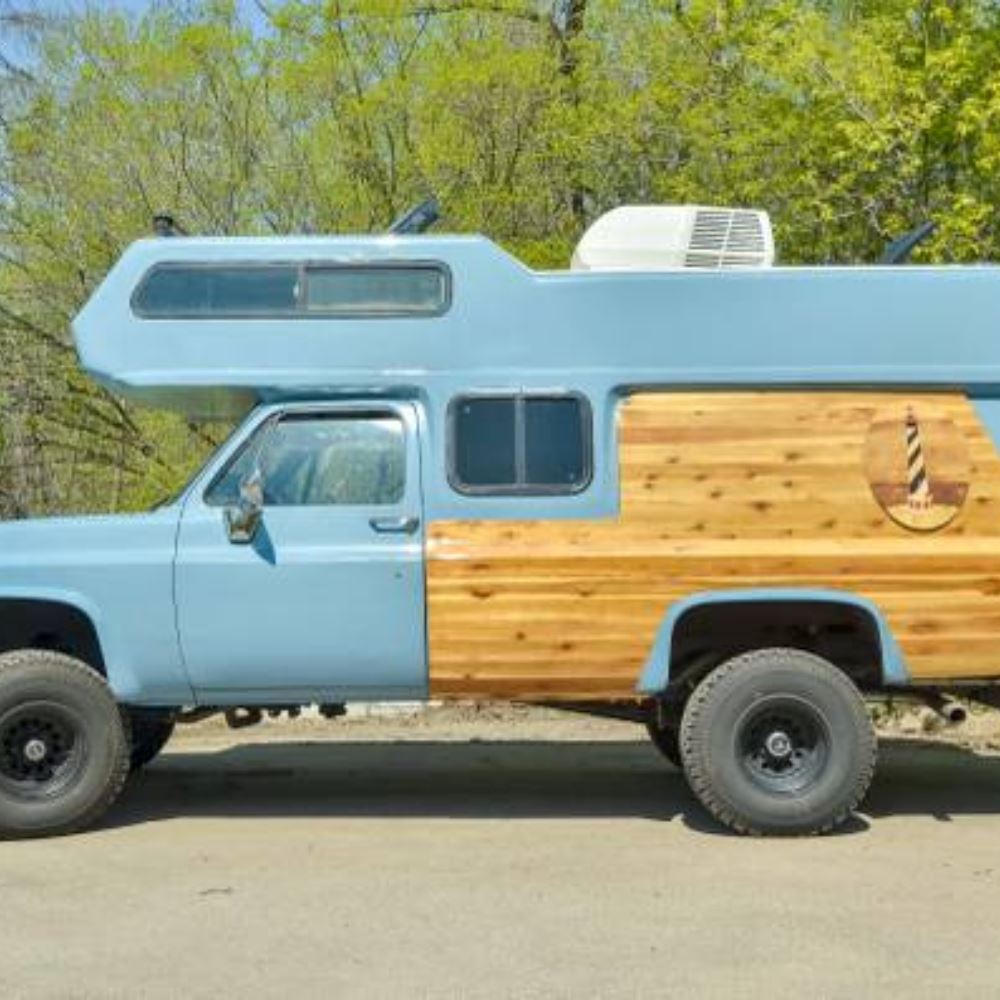
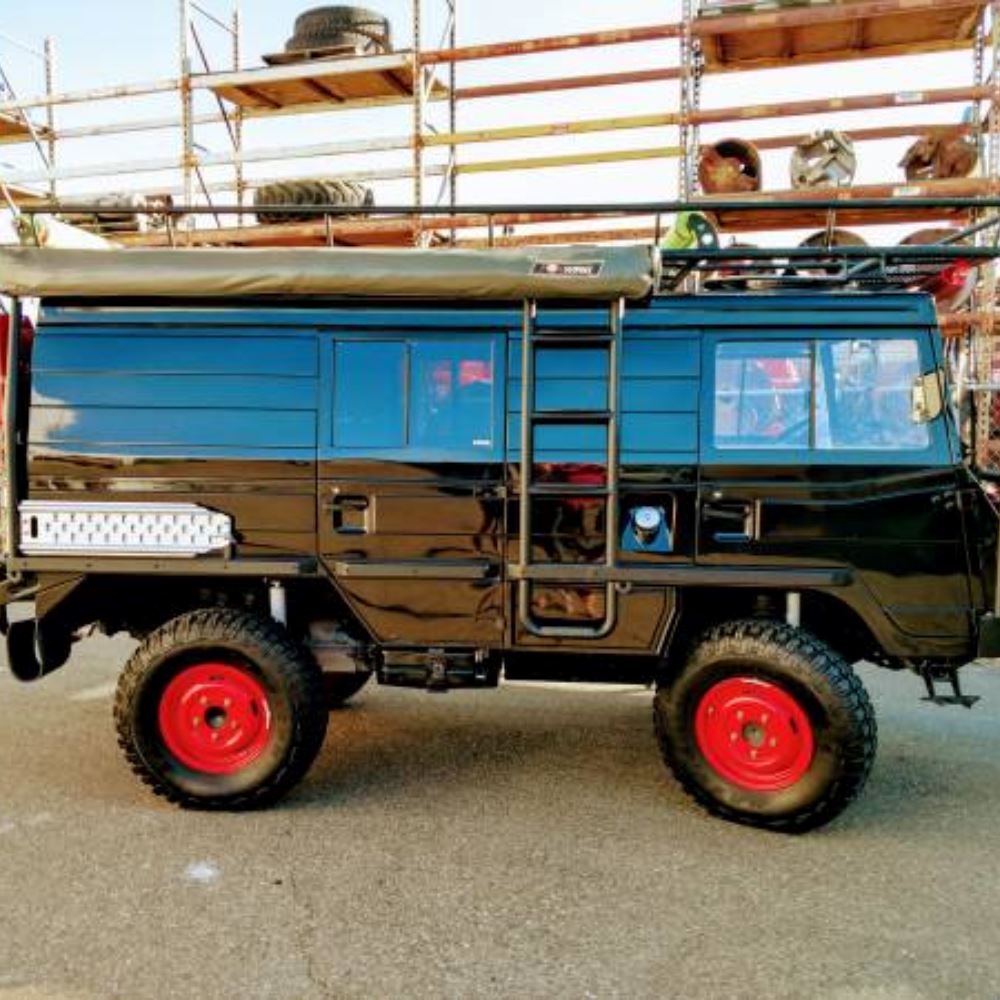
The time has come to begin the extensive process of building a camper body for overland travel. Whether choosing a large chassis like a Unimog U-500 or something more tame such as a Toyota Hilux you will face many of the same challenges. For starters, there are a number of materials available to craft the camper of your dreams yourself. Everything from wood to aluminum sheet to extrusions can be used to build a box or ‘habitat’. Wood is a little hokey for the most part, but there are some incredible people such as @jay on Instagram who are doing amazing work with wood. Aluminum seems to be the most reasonable substrate as it’s easy to source and, although more expensive than wood, not entirely cost prohibitive to the common builder.
A little more exotic would be composite panel construction. Although not exactly new to the world of overland trucks, it has only recently been adopted by the US overland market to any degree. We will briefly outline the benefits of composite paneling in reference to building your own overland truck, keeping things focused on the readily available three quarter and one ton domestic (US) pickup truck. Using such a vehicle rather than a giant, expensive and difficult to obtain platform like the U-500 will keep things more relevant to the majority. As such, the material requirements covered will suit the Ford F-250/F350, Dodge Ram 2500/3500 and Chevrolet Silverado 2500HD/3500HD respectively.
Beginning with the most basic requirement: reliability. It is best to start with the newest truck that you can afford … period. This drives the long term costs of the build down, as is far less expensive to buy a low mileage truck in good condition than to repair -or worse- restore an older, cheaper example. The price gap between a lightly used and beat up truck is much narrower than the gap between a lightly used truck and a truck you end up rebuilding from the ground up … trust me on this. Once you select your vehicle, you will need to remove the bed to make room for the camper body, plumbing, wiring and prerequisite framework in which it mounts.
If the bed is in good condition, selling it can help recoup some of the initial costs of preparing the truck for camper installation. At this point, you will need to determine what modifications are necessary to fit the size tires that you intend to use. Even if you use the factory size wheel/tire combination, you should at least consider the chance that larger tires may be implemented later. To this, a set of removable fender flares or fill panels can be constructed over an enlarged wheel well opening. It is also important to complete suspension and tire modifications -if applicable- before designing the camper body. Otherwise, you may face challenges later on that will be much more difficult to solve than doing it correctly the first time. Let’s dig in.
The very first step -after truck selection- is designing the camper body, and selecting the materials and components that will encompass the entire build. Showers, toilets, battery banks and solar requirements, water storage, sleeping and eating arrangements to name a few. Of course, many of these are subjective and differ from person-to-person and build-to-build. As such we won’t be covering these -perhaps in a future installment, again, if there’s interest. I would highly recommend getting in touch with the manufacturer of the composite panels. Building a relationship with these guys will ultimately save you time and money. Just be sure to be concise with your questions -this stuff is a blast for us, but remember they’re working.
Generally speaking, most modern full size trucks are built on very rigid, box frames. This means that designing around chassis flex will be much less daunting than in previous years. However, you will still need to leave room for the truck frame to flex. These considerations are best left to engineers or people who have intimate knowledge on the subject. Most camper support frames are constructed from square aluminum tubing or I-beams and are mounted at three points: two in the front, one in the rear. I have seen both welded and bolted construction, both have their merits. Again, speak to an engineer about which is best for your application. Whichever route, you can expect the tubing to be laid out in a traditional ladder frame pattern.
The ladder frame will reside on top of the existing truck frame. As such, it will elevate the camper quite a bit. This leaves room for under-chassis water storage, auxiliary fuel tanks, and storage boxes. Hanging all of these items nice and low definitely has its advantages in the sway of things … quite literally. So prepping this unused space to store heavier items down low may help to counter the tall box towering over the cab to some effect. Of course, these items will need to be included in the initial planning and design stages.
Let’s talk composite materials. There are a handful of manufacturers out there that make the materials you will need and not all are created equal. One of the most common failures of composite panels is delamination. When exposed to intense sunlight, many panels will eventually develop bubbles under the external layer -which looks akin to air trapped under a decal. Once this process begins, there’s no way to reverse it. So, make sure to perform your due diligence. From what I can tell, Total Composites makes the absolute best composite panels in the business. Fortunately, one of the owners is an overland enthusiast and has built many of the awesome gargantuan overland rigs that we have featured on our Instagram feed. One person who speaks highly of his experience with Total Composites is Graeme Bell from A2A Expedition.
Graeme borrowed a friend’s backyard in Florida to strip the canopy and rear cab from the family Land Rover Defender 130 to create a custom camper. His family needed the extra room to stretch out during long days on the road and a composite camper box was their solution. The four of them have been traveling the world for quite some time. Consider reaching out to them with questions -or at least visiting their blog.
I had the pleasure to meet Andreas Schwall of Total Composites at NWOR (Northwest Overland Rally) earlier this year and spent some time bending his ear regarding their composite panels and camper bodies in general. Andreas has a four door Mercedes Sprinter van that he has converted into a camper using his family’s proprietary materials. According to Mr. Schwall, his father started the company over 30 years ago. Using a combination of German engineering and Chinese manufacturing capabilities, they have been able to create a surprisingly affordable and superior composite material. Each year they produce over 800 truck bodies for all sorts of applications. They have eliminated the delamination issue that is all too common in the industry. Of course, Andreas was not telling me how they accomplished this, which I respect.
If you are considering a composite bodied camper, I highly recommend reaching out to Andreas with any questions or concerns. He can better describe the thermal advantages of using composites than I. I can however, comment on the difference between the ambient temperature and that of the interior of the camper. In the heat of the day, it honestly felt 15* F cooler inside, and that was without any aid from A/C or an electric fan. I did have questions about the durability of these panels vs aluminum skin, but he shared an anecdotal story where he accidentally backed into a 6” diameter tree branch and broke it clean off. I couldn’t see any marks left behind by the incident. Of course, he doesn’t recommend using your camper for clearing tree limbs.
In addition to the composite sheets, Total Composites offers all of the extrusions and bonding agents necessary to assemble camper bodies. They also offer a camper body design that is ready to assemble. Window and door openings can be cut per your specifications. Doors and windows are also available. Andreas tells me that it takes 18 hours to assemble a camper body. This of course is just the shell and not the peripheral components such as plumbing, wiring or interior carpentry. I once spent two months building a teardrop camper in my garage after work. I wish I had known about these camper bodies!
Flatpack composite camper bodies like the one pictured here start at $13,229 including windows, door, roof hatch and storage hatches … plus tax and shipping. Campers range from 12’-18’ and prices range from $12,000 - $18,000 (USD) depending on features.
Included:
- All composite panels, cut to size and window cut outs. FRP skin is made in Germany by Lamilux (biggest manufacturer of FRP in Europe). PU foam core made by Puren (made in Germany).
- All thermal transfer free FRP extrusions, cut to length.
- German made high performance PU adhesive. Koemmerling brand.
- Arctic Tern Windows, acrylic double pane.
- Arctic Tern insulated entry door.
- Arctic Tern roof hatch.
- Arctic Tern insulated composite storage hatch.
Warranty: “We cover material defects/failures of all materials for 1 year. Unauthorized modifications (additional openings, color changes, assembly mistakes) will void all warranty.
In the unlikely event of defects past the 12 month time frame, we offer outstanding customer support with 24 hour turn around times if parts need to be replaced.”
Additional Information:
North American Office: Victoria, BC Canada
Factory Location: Jinan, China
Engineering Office: Near Stuttgart Germany
Shipping Method: Flat Pack
For more information visit: www.totalcomposites.com
Images by Richard Giordano


